TABLE OF CONTENTS
What is the Elevation Module?
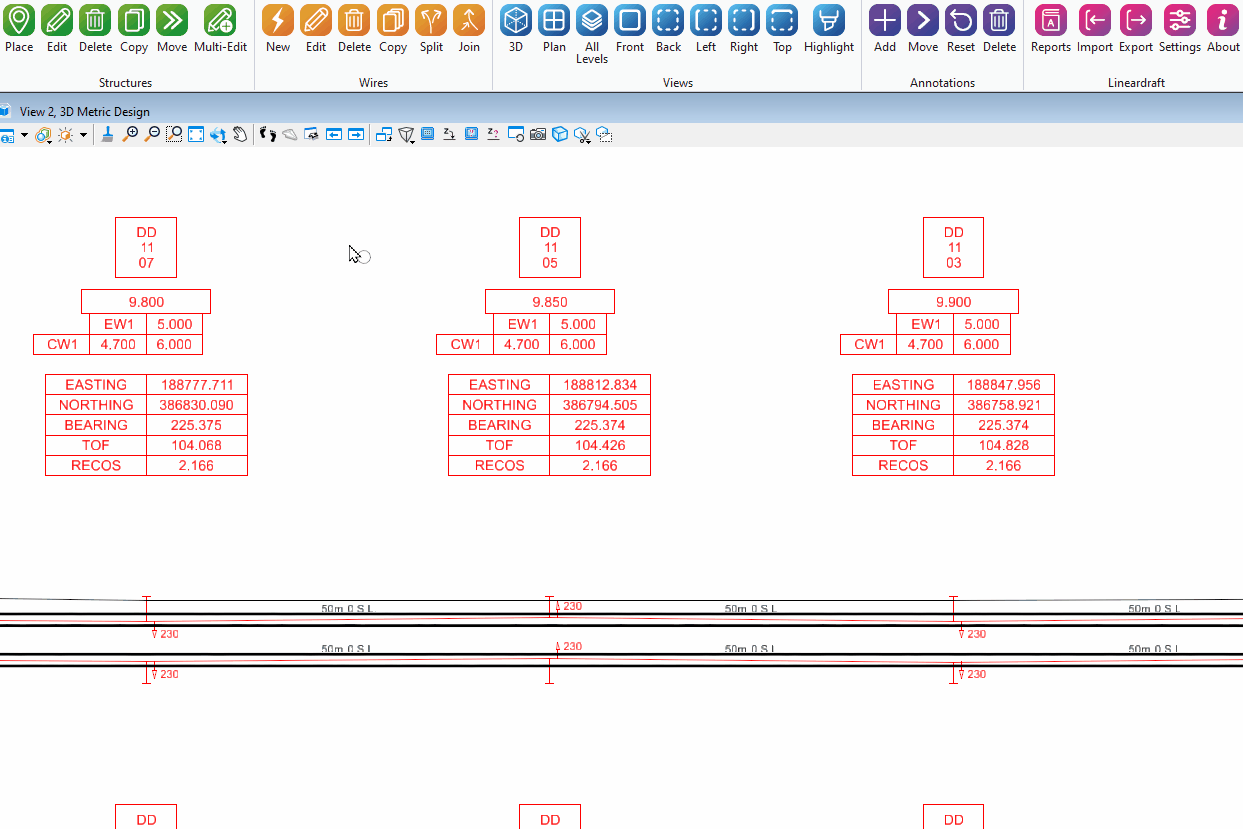
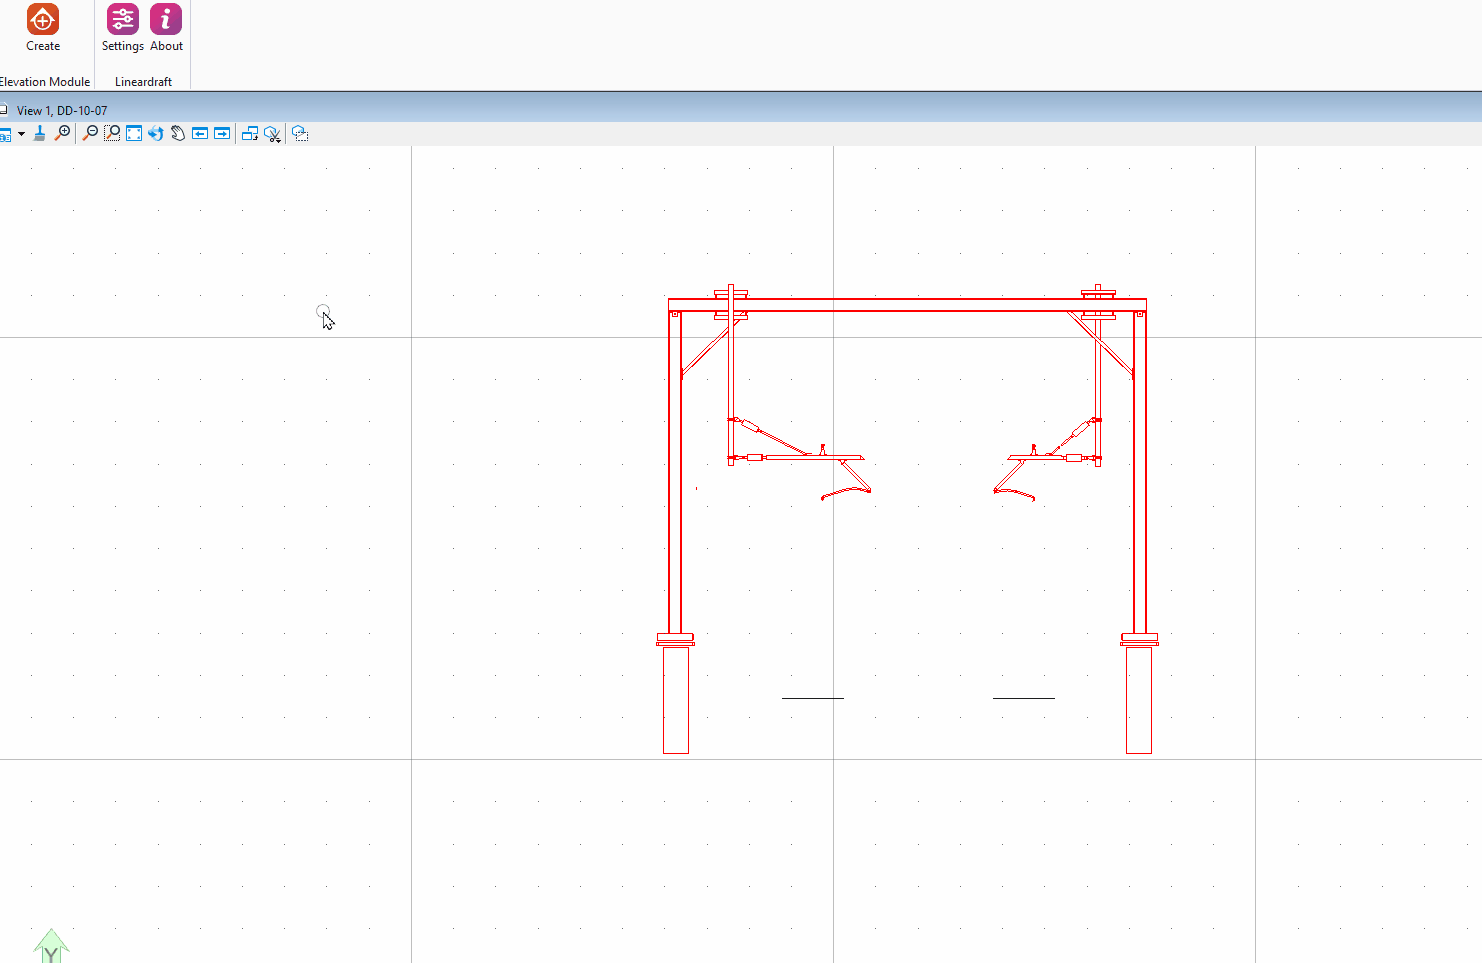
Elevation Module is an addition to Lineardraft which speeds up the process of creating annotated elevation drawings, sometimes known as cross sections.
What are the main components of the Elevation Module?
The elevation module has two main components, the 'Create' tool and the Elevation Module manager.
The 'Create' Tool
Where is it located?
Found in the new 'Elevation Module' section of the Lineardraft toolbar, visible only when you have your 2D sheet model open.

What does it do?
Allows users to select dimensions from a predefined list and apply them directly to an elevation drawing. These dimensions automatically update if the structure changes in the model. Users can also save their selected dimensions as a template, making it easy to quickly apply consistent dimensioning across multiple elevation drawings and streamline the workflow.

Elevation Module Manager
Where is it located?
Found via the 'Multi-Edit' button in the 'Structures' section of the toolbar.

What does it do?
The Elevation Module Manager ensures that structures are using the most up to date version of the Elevation Module. It allows users to manage different module versions and rebuild structures as needed to assign the correct version to each one. Read more here.

First Time Using the Elevation Module
Follow the process below to get started with the Elevation Module for the first time.
File Safety
Because the Elevation Module pilot programme uses an alpha version of Lineardraft, it carries a small risk of corrupting the files it interacts with. As such, it’s important that you follow some safety measures.
- When working with the alpha version, always work in a sandbox environment.
- Do not open or interact with any live files while the alpha version is installed.
- Conversely, while the released version is installed, do not open or interact with your sandbox files.
- While working with the alpha version, make sure to save your sandbox files as a new version between uses. That way, in the unlikely event that file corruption does occur, you’ll lose as little work as possible.
Environment Set Up
A sandbox environment is required. Only use files created for the exclusive use as a part of the pilot programme or completely independent copies of files that are not linked with live workflows.
The alpha and released versions of Lineardraft cannot be installed side-by-side. As a result you may need to:
- Manually uninstall and reinstall every time you need to switch between versions, see how here.
OR
- Set up Lineardraft on a machine or account you’ll be using exclusively for the pilot programme.
Please note: If you have any questions or need more advice on your environment set up or file safety, please submit a form and we'll be happy to help.
Use your Lineardraft Desktop to install the Elevation Module
Please note: The Elevation Module and the released version of Lineardraft cannot be installed side-by-side. You may need to uninstall your current version of Lineardraft before proceeding.

Use Lineardraft Desktop to install the Elevation Module.
Any structures created before the Elevation Module was installed must be rebuilt to ensure full compatibility with the module.
The 'Elevation Module manager' allows you to:
Check the status of existing structures
Apply the latest version of the Elevation Module to structures
Rebuild necessary structures
More info: Find out all about the 'Elevation Module manager' and why it's necessary here.
Using your standard workflow:
- Create a 2D sheet model
- Reference in your saved view
Please note: The 'Elevation Module' section of the Lineardraft toolbar will only be visible when a 2D sheet is open.
Once your sheet is ready, use the 'Create' button in the Elevation Module section of the toolbar to draw dimensions. Follow the full process here.
You can also:
- Save your preferred dimension settings as a configuration template, see here.
- Reuse these templates in future projects for consistency and efficiency, see here.
Reference Guides
Using the Elevation Module: